User Manual
POI Editor
The POI Editor displays the Points Of Interest of a file, such as HotCues, Saved Loops, Automix points, Beatgrid anchors, Remix Points, and Action Points (with assigned VDJscript). Any POI can be moved, adjusted, added or removed in the editor. VirtualDJ will automatically create First Beat (Beat Anchor) and Mix Point POIs when a file is first analyzed to create the Computerized Beat Grid and Automix In and Out Points of the file. These points can all be adjusted.
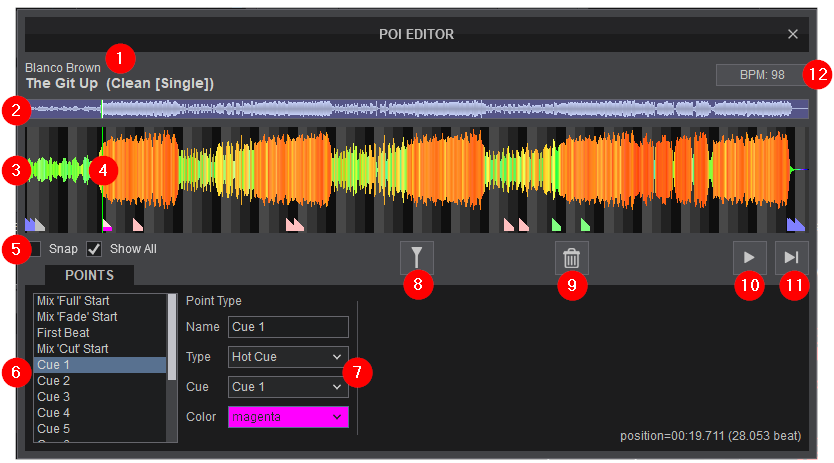
- FILE INFO. This area displays the Artist, Title and Remix (if entered) of the file being edited.
- SCROLL BAR. Displays the zoom level of the waveform and can be dragged to any part of the file to perform precise adjustments.
- WAVEFORM. Provides a visual display of the audio information. It displays the beatgrid using the grayscaled background as well as the POI markers. The waveform can be zoomed in or out to make precision adjustments with a wheel mouse.
- PLAYHEAD. Shows the current position of the track. All new POIs and play functions use the playhead to determine the marker placement and start position. It can be clicked and dragged to any part of the track with a mouse.
- OPTION BOXES
Snap When checked, will line up the POI to the closest beat. Show All When checked, will display all POIs (including VirtualDJ created) of the track. - POI LIST. Displays all Points of Interest depending on the view chosen (Show All checked) or just the user created POIs (Show All unchecked). Any POI in the list can be highlighted (clicked on) and modified. The focused POI’s position will display both time and the number of beats in the lower right corner of the editor.
- POINT TYPE. POIs can be changed to a different type or edited from this area once the POI is created or selected from the POI List. Each Point will be marked on the waveform showing it’s type and position by default. Point types can be named as well as made invisible if required. Depending on the type of point chosen, some POIs can have colors associated with them.
 HotCue
The POI operates as a HotCue (default).  Saved Loop
Sets the track position as a Saved Loop. The Saved Loop will be enabled using the HotCue buttons of the VirtualDJ Interface.  Action
Assigns a VirtualDJ script action, which will be executed once the track reaches the specified point.  Remix Point
Sets the track position as a Remix point. Remix Points are available in the Pads Remix Points page.  Beatgrid Anchor
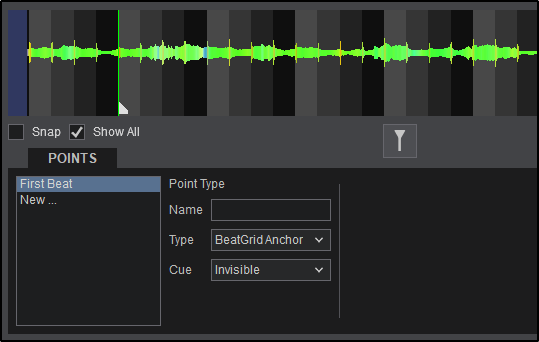
First Beat of the song used by VirtualDJ to create the 4-beat pattern (CBG). Additional Beatgrid Anchors can be added if the song has a variable BPM.  Automix Point
Sets the track position as an Automix point. A Point option drop-down list will be displayed on the right side to select the Automix point type.  Load Point
If a Load point is specified, the track will be loaded and stopped on this position. - SNAP TO POSITION. Moves the highlighted POI to the position of the playhead.
- DELETE. Removes the highlighted POI from the file.
- PLAY/STOP. Will play the track if it is stopped and will stop the track if it’s playing.
- PLAY-HOLD. Plays the track as long as the button is held. Once released, the playhead will jump back to it’s previously stopped position.
- BPM DISPLAY. Shows the current BPM of the track and opens the BPM Editor when clicked on.
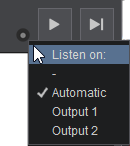
If an External Mixer Audio Setup is created, a button will appear to the left of the Play/Stop Button with channel routing options. If no PFL channel is available a pop up window will display asking if the feature can be used through the master output.
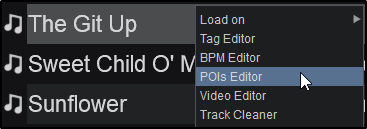
POI MANAGEMENT
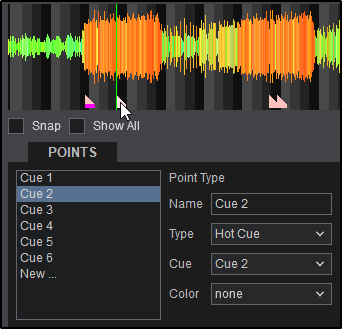
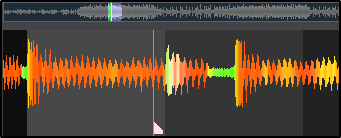

The POI saves automatically, but can be removed by clicking on the delete button.
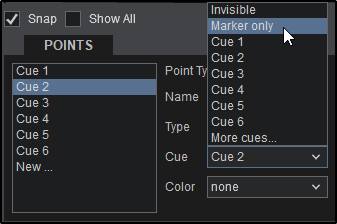
 hot cues
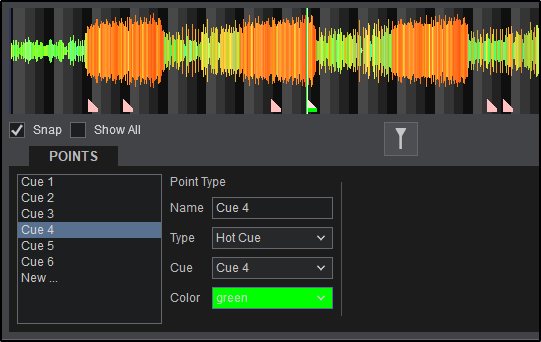
Just like other POI types, Hot Cues are managed identically with the addition of adding a color. Adding a color to a Hot Cue will display in the POI Editor and will also affect the display of controllers with RGB pads as well as the Hot Cue display and markers on the default skin.
 saved loops
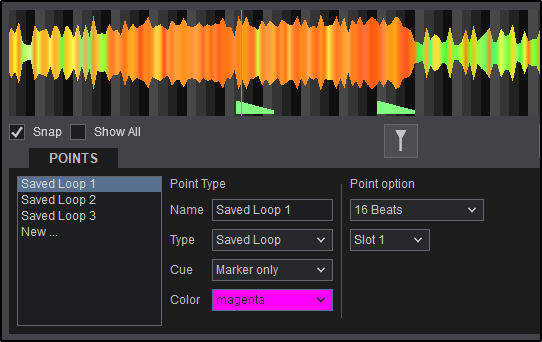

 Saved Loops are automatically highlighted on the Deck Waveform and Rhythm Wave when activated. If the Saved Loop is saved as a Cue Point, it will be triggered by a Hot Cue button and will remain looped until turned off in the loop control panel, keyboard shortcut, controller or custom button. The Slot Number can also be defined for custom script actions or Controllers that have multiple loop slots by using a script. The script action “saved_loop 2” would trigger whichever Saved Loop that is assigned to Slot 2 for example.
Adding a color will affect the display of controllers with RGB pads, the position markers on the default skin, as well as the Pads display.
 actions
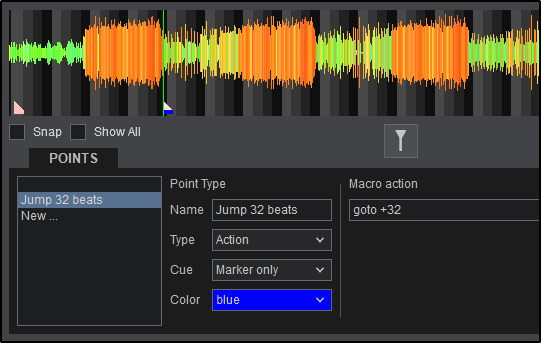
In the example the action goto +32 is assigned to the Action Point. When the track reaches this POI it will automatically skip 32 beats seamlessly.
More details about VirtualDJ script actions can be found here: http://www.virtualdj.com/wiki/VDJ8Script
 remix points
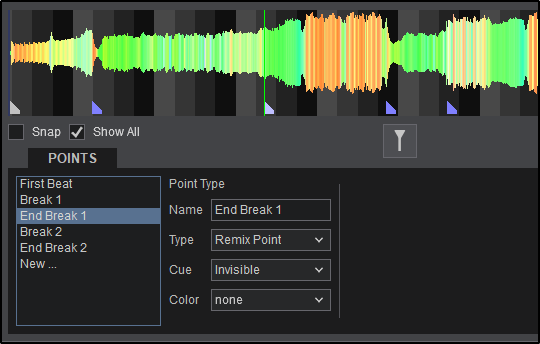
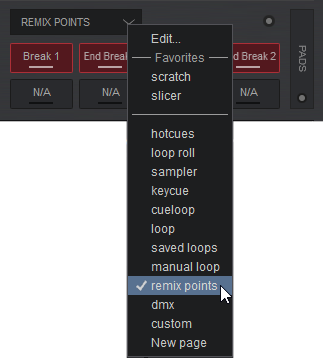
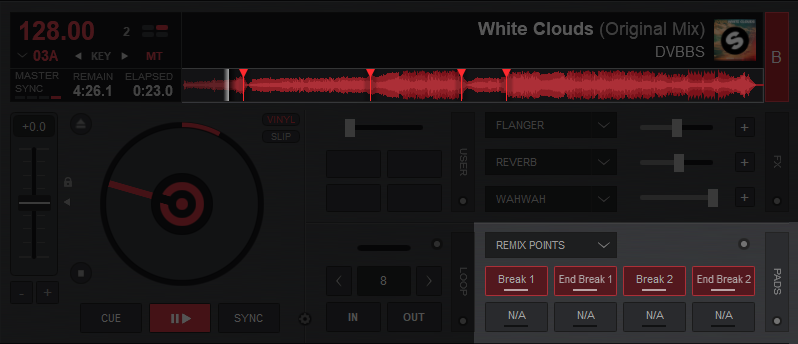
The Pad view will automatically update to display the Remix Points in the active deck only. If there are no Remix Points for the file in the deck, the empty Pads will display N/A.
Pressing on a Pad will trigger the Remix Point by jumping to that particular point in the track. Hitting any additional Pads will trigger the specified point and jump to it’s position staying in sync giving the ability to remix on the fly.
Empty Pads can also be clicked to set Remix Points on the fly (See Pads for more details).
 beatgrid anchors
 automix points
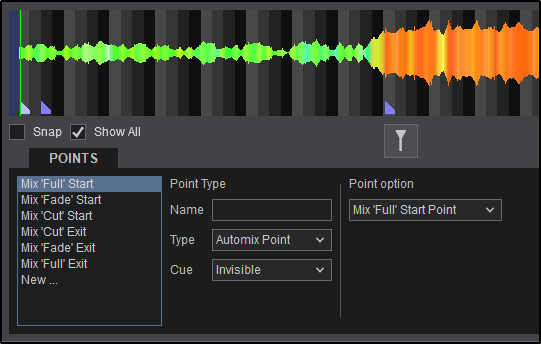
Depending on the Automix Type selected, each Automix Point has it’s own purpose and preferred order. If the preferred POI is not available, the Automix engine will select the next preferred point. Not all POIs are used in every Automix Type.
 load points
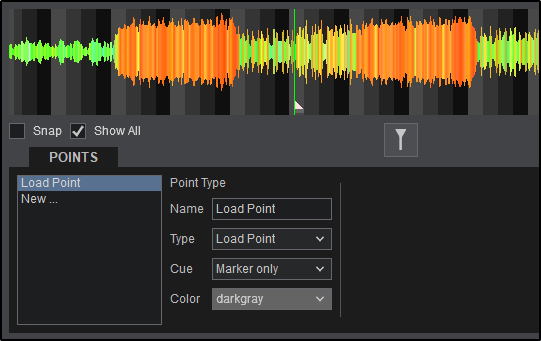
 When the file is loaded to a deck, it will be stopped on the Load Point specified. Sample Editor


